LAMPとゆかいな仲間たち-仮想ホスト編
「LAMPとゆかいな仲間たち-WordPress編」では、Apache2のドキュメントルートを変更する方法でWordPressをインストールしたが、あくまでもローカル環境ということであった。本来は、Apache2のドキュメントルートである/var/www/htmlを利用するのが基本である。ただし、/var/www/htmlにアクセスするにはroot権限が必要である。解決するにはchownで所有者を変更すればよい。変更したら、htmlディレクトリ内にWordPressをインストールするフォルダを作成する。たとえば、wpというフォルダを作成したら、アクセスはhttp://localhost/wpでアクセスできる。
いや、loalhostではなくドメイン的、http://mysite.localというようにアクセスしたいというのであれば、仮想ホストを設定する必要がある。さらにhttp://blog.mysite.localというようなこともできる。設定手順はドキュメントルートを変更するより多い。
今回は、仮想ホストを設定してWordPressをその中に配置してみる。なお、Apache2Webサーバーはインストール済みであり、稼働していることが条件である。また、WordPressのインストールは述べない。インストール方法については「LAMPとゆかいな仲間たち-WordPress編」を参照してほしい
仮想ホストの設定
設定するファイルは2つである。ひとつはhostsともうひとつは/etc/apache2/sites-enabledにある000-default.confである。
ディレクトリの作成
最初にサイト名と同じフォルダを/var/wwwの中に作成する。作成したら所有権を変更する。なお、サイト名はmysite.localとしている。
cd /var/www
sudo mkdir mysite.local
chown -R 755 $USER:$USER mysite.local
仮想ホストの作成
次に000-default.confから設定していくが、オリジナルは残しておくことにして、このファイルをコピーしたものを使用する。
cd /etc/apache2/sites-enabled
sudo cp 000-default.conf mysite.local.conf
sudo nano mysite.local.conf
内容は次のようになっている。
<VirtualHost *:80>
	# The ServerName directive sets the request scheme, hostname and port that
	# the server uses to identify itself. This is used when creating
	# redirection URLs. In the context of virtual hosts, the ServerName
	# specifies what hostname must appear in the request's Host: header to
	# match this virtual host. For the default virtual host (this file) this
	# value is not decisive as it is used as a last resort host regardless.
	# However, you must set it for any further virtual host explicitly.
	#ServerName www.example.com

	ServerAdmin webmaster@localhost
	DocumentRoot /var/www/html

	# Available loglevels: trace8, ..., trace1, debug, info, notice, warn,
	# error, crit, alert, emerg.
	# It is also possible to configure the loglevel for particular
	# modules, e.g.
	#LogLevel info ssl:warn

	ErrorLog ${APACHE_LOG_DIR}/error.log
	CustomLog ${APACHE_LOG_DIR}/access.log combined

	# For most configuration files from conf-available/, which are
	# enabled or disabled at a global level, it is possible to
	# include a line for only one particular virtual host. For example the
	# following line enables the CGI configuration for this host only
	# after it has been globally disabled with "a2disconf".
	#Include conf-available/serve-cgi-bin.conf
</VirtualHost>

# vim: syntax=apache ts=4 sw=4 sts=4 sr noet
下記のように書き換える。
<VirtualHost *:80>
	ServerAdmin webmaster@localhost
        ServerName mysite.local
	DocumentRoot /var/www/mysite.local
	ErrorLog ${APACHE_LOG_DIR}/error.log
	CustomLog ${APACHE_LOG_DIR}/access.log combined
</VirtualHost>

# WordPress
<VirtualHost *:80>
        ServerAdmin webmaster@localhost
        ServerName blog.mysite.local
        DocumentRoot /var/www/mysite.local/wp
        ErrorLog ${APACHE_LOG_DIR}/error.log
        CustomLog ${APACHE_LOG_DIR}/access.log combined
</VirtualHost>
hostsの変更
/etcにあるhostsファイルを変更する。
cd /etc
sudo nano hosts
次の1行を追記する。
127.0.0.1 mysite.local blog.mysite.local
Apache2Webサーバーの再起動
sudo systemctl restart apache2
アクセス確認
ここでは、すでにmysite.localの中にindex.html、wpフォルダにWordPressをインストール済みである。なお、wp-config.phpのデータベースのホスト名の部分を下記のように書き換えてある。
/** データベースのホスト名 */
define( 'DB_HOST', 'blog.mysite.local' );
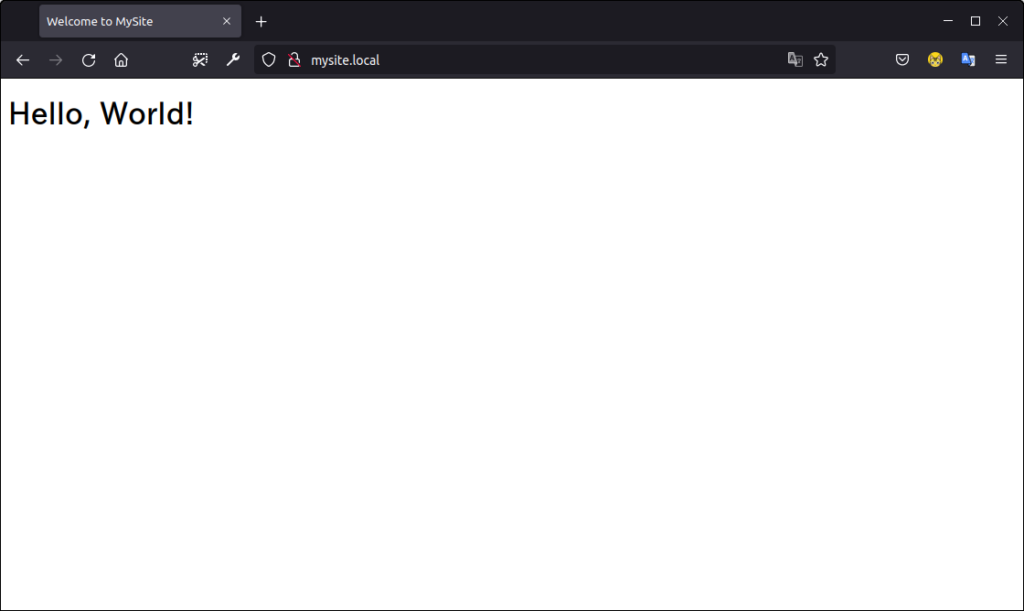
まず、http://mysite.local/でアクセスしてみよう。

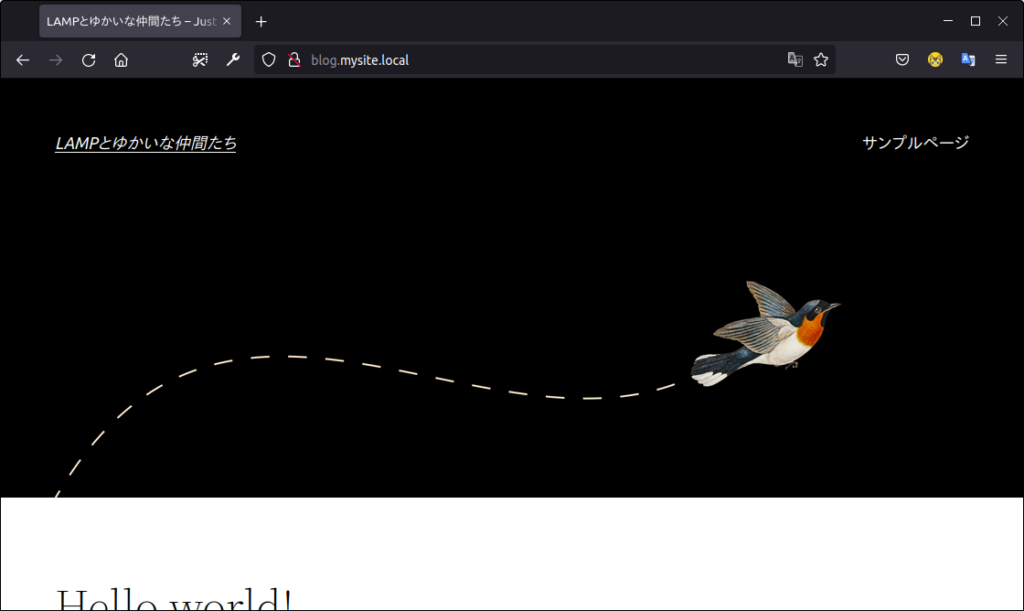
次は、http://blog.mysite.localである。

あくまでも基本的な方法なので、これをベースにしてWebサーバーとして設定することもできる。今回は結構面倒なのとセキュリティの問題もあるのでそこまでやらない。
以上である。
